Thursday

DIY American Girl Dollhouse


Let's start out with supplies needed and round about cost of building. There is another link to decorating the house and the stable that was added to the right side. We will just focus on the actual house. Supplies needed to complete were:

-4 4x8' 3/4" plywood sheets
-2 4x8' 1/4" plywood sheets
-box of trim nails
-box of 1 1/2" screws

Total cost of supplies was about $60.

Tools needed to complete:
-circular saw
-tape measure
-chalk line
-hammer
-drill

I started by cutting two sheets of the 3/4" plywood in half then cutting the top two feet off of each of the four pieces. This gave me the four 2'x2' pieces for room dividers and the four 6'x2' wall pieces. Now cut the other two 3/4" sheets into eight 4'x2' for ceiling and floor pieces. The two 1/4" sheets will be nailed onto the back of the cabinets for strength.

In the picture below I have began assembling the two side walls and top ceiling and bottom floor. I predrilled pilot holes for screws to prevent cracking. I put two screws on each joint with a two nails just for kicks. I assembled the house in two sides. As you can see in the very first picture, there are two cabinets that are identical to make up both sides of the house.

 
Because I was assembling this alone. I used to wood clamp to help me out in making the walls and ceiling pieces square.
 
 
Now that the outer walls, lowest floor and top ceiling are put together. I then added the two remaining floor pieces with walls dividing both rooms. I held everything together with screw and a couple nails on the sides. The added nails of screw gave more strength for doll accessories and whatnots. the second from the bottom floor middle wall had to be attached with a touch of wood glue and two toenailed in screws for strength.

The house rooms are complete now flip over the cabinets and add the 1/4" sheet to back of each cabinet. This will give all needed strength for moving the house around.


Drive trim nails all around the edge of the sheet. I think I put 16 in each cabinet. I also put a screw in each corner for added support.

The construction is complete, onto paint. I used an electric paint sprayer, but anything to put the paint on will work.


We chose just a latex indoor white. The entire project took just a few hours to complete. Moving them up into the bonus daughter's room took just about as much time as it did building. The cabinets are 6x4x2'. Be sure to plan before building and moving.

Once they were in the assigned room. I attached them on the top with just a couple screw and a tie board.


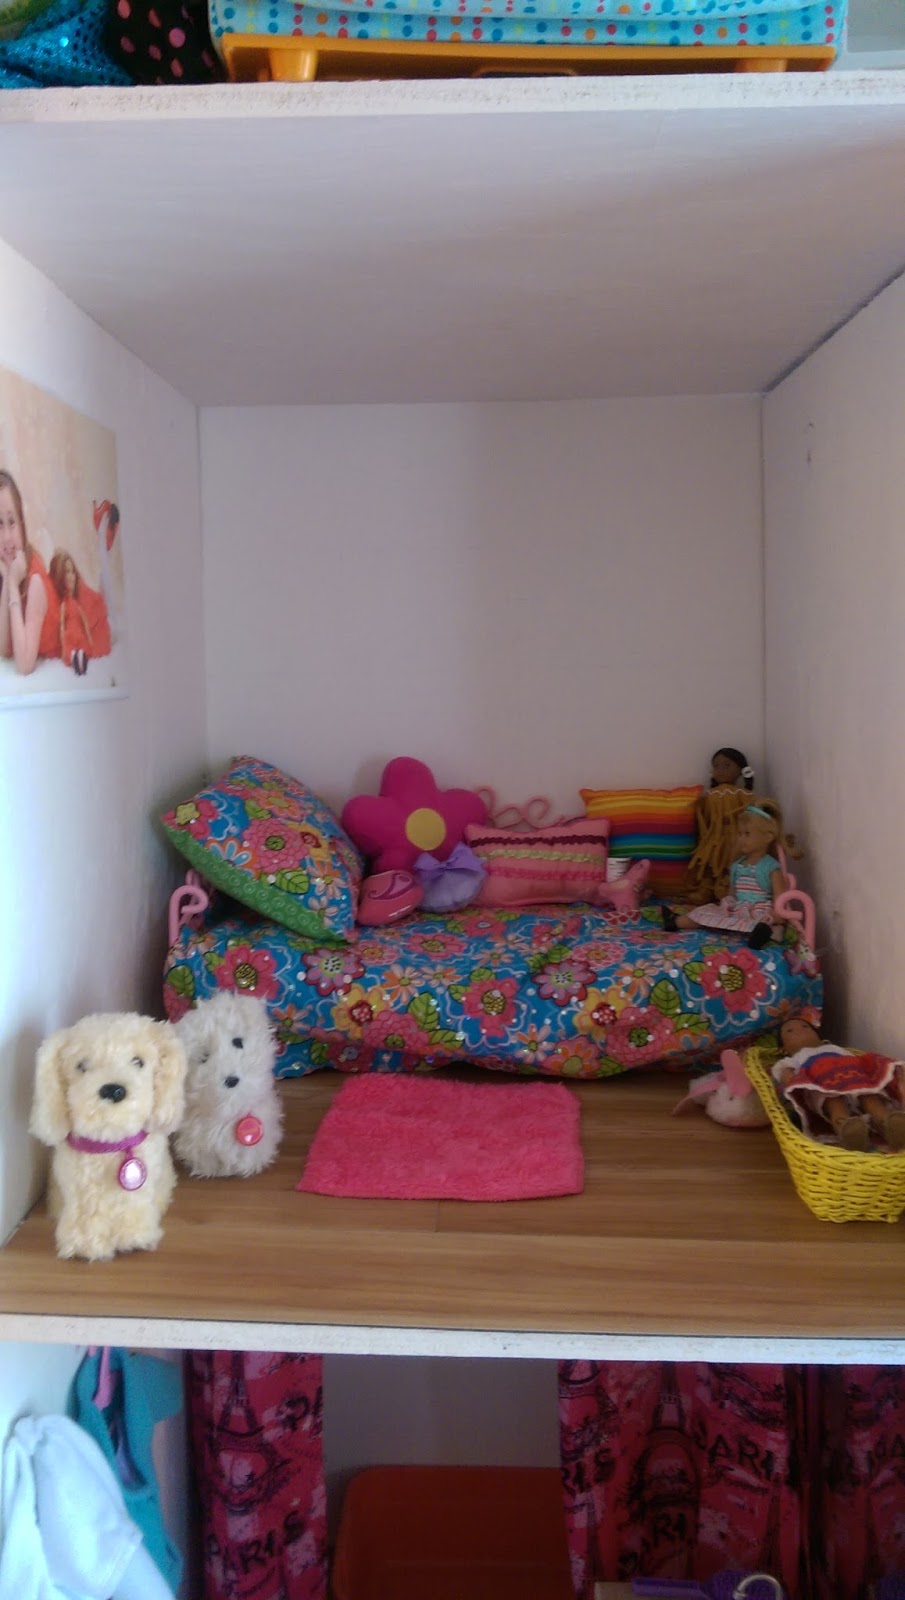
As you can see from this photo I stole from the decorating post on this house. We added peal and stick flooring from any home improvement store. You can buy just a couple pieces for a dollar each tops. Just a tape measure, carton knife, and straight edge for this part. The flooring and decorating did add to the cost by at least double, but we managed to get most everything cheap. Click here to check out the decorating link.


DIY American Girl Doll Horse Stable


With the giant doll house I built (click here to see that), I thought it only made sense to include a stable for Muffin, Sox or whatever the horse's name is. Just a few supplies and this job is done. Let's make a list of things needed.
 
Let's begin with tools:
-Hammer
-Tape measure
-Saw (circular is available)
 
Now let's talk building materials:
-1 1x2" piece of wood
- A 8"x24" thin gate (Piece that looks like the stall wall picture)
-Hand full of trim nails
 
I started by assembling the stall wall and gate. The piece we used was one whole piece that I cut down to size. We purchased it at Hobby Lobby. I cut it down to about 18" for the side wall and 6" for the gate. There was just one partial flat piece that was left. I just that into four small pieces nailed onto the bottoms of each end on the wall and gate. This gave the pieces ability to stand on their own.
 
 
Next came the saddle rack. We needed four rungs to hold four saddles. I cut these seven inches in length. This left me with a long piece to mount the rungs to and put the saddles on. I took one nail per rung and drove them through the back piece and into the rung. The saddles are very light, so not much is needed to keep them up. I then used two nails to mount the rack to the wall.
 
 
There were a couple accessories that needed hung as well. Things such as bridles and halters. I just drove a few nails into the wall. Trim nails leave little mark in the drywall. If that is not an option use 3M hooks and sticky pads to mount everything.


Decorating an American Girl Dollhouse


My significant other built our daughter a large dollhouse for her American Girl Dolls.  (Click here to see the tutorial on how to build it).  She had tons of accessories for the dollhouse already however she didn't have enough stuff to fill up the dollhouse.  I did not want to spend much more money decorating the house and I didn't.  I'll explain how I decorated each room for cheap.
 
 
LIVING ROOM


Above is the living room.  The couch is from Walmart and was like $13.  The pink chair is from Goodwill as well as the blue wicker chair, the rocking chair and the TV stand.  They were $2 each and I just spray painted them.  These pictures were from Christmas time so the Christmas tree was something we already had in our Christmas decoration box.  The lamp by the couch is a tea candle holder that I already had and I just spray painted that to.  The TV is a small canvas that I painted and used Mod Podge to adhere a printed picture of the show "Chopped", which is my daughter's favorite show.
 
 
KITCHEN


This is the kitchen.  The refrigerator and the kitchen setup next to it were something my daughter already had but if I remember correctly we bought it from Target for around $50.  The high chair in the corner is from the American Girl Doll Store.  It is for the Bitty Babies that are seen in the living room.  The table is just a wooden plaque from Hobby Lobby that I glued on top of a piece of PVC with a scrap piece of wood to stabilize it.  The chairs are wooden candle holders I bought from Goodwill that I painted and turned upside down.  I used some foam, scrap fabric and a hot glue gun to make cushions for the top of them.  Below are what the table chairs (originally candle holders) looked like before I revamped them


BATHROOM


The bathroom was fairly simple.  First I used a tension rod as a shower curtain rod, two handkerchiefs from Hobby Lobby as a shower curtain, and Ikea clips to hang the shower curtain.


The bathtub is just a small plastic shoe box that is from Dollar Tree that I spray painted.


I used aluminum foil to make the bathtub faucet and knobs.  The knobs are just water bottle caps covered with the foil and the faucet is just foil I shaped the best I could.  I used hot glue to attach them to the tub.
 
 
The sink is a magnetic paperclip holder ad the vanity it just two wooden trays stacked together that I bought for a couple dollars each at Micahel's.


The toilet is a drink holder that I bought on Amazon for around $10.

 
I used some hooks to hang the robes on the wall.  As you cans see I also used touch lights on the ceiling in most of the rooms.  I already had these.  I had bought them for under the cabinets in my kitchen but they didn't produce enough light so I put them in the dollhouse.


SCHOOL ROOM

I call this the school room.  It has a desk, chest, and locker in it, all which I bought from Goodwill.  The chalkboard is from Michael's and cost $4.
 
OFFICE

 
The office has a desk in it that I bought from Walmart for about $30.  The cabinet was from Goodwill and was already painted so I left it as is.  I used hooks and knobs, which I already had, to hang bags and purses in the office. 
 
BEDROOM


My daughter already had the bed and bed spread.  I believe it's from Walmart.  The basket is from Goodwill.  I spray painted it and used foam and fabric to make it a dog bed.
 
I used a small canvas and a printed picture to make the wall hanging of my daughter with her American Girl Doll, similar to how I made the TV.
 
BEDROOM 2


The second bedroom has a bed that my daughter already had.  It is a fold up bed that she puts in the travel bag with her doll whens he takes it places.  The wicker items are from Goodwill and I just spray painted them.  The chandelier is a tea light holder that we already had.  Some hooks on the wall are for hanging the hats.
 
RECREATION ROOM
 
 
The picture above shows the recreation room at the bottom.  I didn't get a really good picture of it.  Basically its a Goodwill chair that I spray painted and made a cushion for, similar to the kitchen table chairs.  This room is where we put a painting set and guitar that are both from the American Girl Doll Store.
 
DRESSING ROOM

 
I used two rows of tension rods to hang the clothes.  There is also a wicker trunk that I bought at Goodwill to hold socks, underwear and other things that can't be hung up.  I bought a mirror from Goodwill that we hung on one side of the wall.
 
 
On the other side of the wall is a shoe holder that my significant other made.  He used 1x3s to make it.
 
RANDOM STUFF ROOM
 
 
This room is just where I put random stuff.  The dog bath, the salon chair and the wheelchair.  I also hung hooks for sports equipment and random things.
 
HORSE STABLE
 

The horse stable was something my significant other made.  It isn't in the dollhouse.  It is right next to it.  Click here to see a tutorial of how it was made.
 
 
So that's the dollhouse.  As you can see we put stuff on top of the dollhouse.  Like the theater set, the lemonade stand, and the cookie stand.


Friday

DIY Chalkboard


This is an easy project, especially if you can convince your significant other to help like I did. First we cut a piece of quarter inch plywood to the size we wanted the chalkboard to be.  Next we pained it using chalkboard paint.


Next we cut trim to go on each side of the chalkboard then painted it.
 
 
We used finishing nails to hang the trim over the painted plywood.


I used caulk and filed in the spaces between the pieces of trim and to cover the finishing nail holes then I did some touch up painting after it dried.


Tuesday

Use a Magazine Holder to Hold Liners


Spray Paint Concrete Blocks

 
There are a TON of rocks in the yard at the campground that I have a seasonal spot.  We have a bar shed there and wanted a walkway from the deck to the bar shed.   


Of course I wanted it to be inexpensive but cute so I bought boring old concrete blocks for about $3 each.  I bought a large stencil from Hobby Lobby and used the Hobby Lobby app coupon for 40% off so it was about $10.  I bought a few can of spray paint from Walmart.  I placed the stencil on the concrete block and centered it then I spray painted it.


After the blocks dried I placed them on the rocks.  A cute easy path to the bar shed!